SNAP-Shot!Tm 3
Software Installation
SNAP-Shot! software installation is a relatively simple process.
Because you downloaded the software from an online web page, for ease of access, the software installation files have been packaged into a .ZIP file. It is recommended that you unZip the files into a folder on your desktop before running the Setup Process. The .ZIP file should contain 3 files within it:
1.
![]() Setup.Exe
Setup.Exe
2.
![]() Setup.Lst
Setup.Lst
3.
![]() A SnapShot .CAB file containing the actual installation files.
A SnapShot .CAB file containing the actual installation files.
Double-clicking
the Setup.Exe Icon will begin the installation process.
You
will be presented with a blue-colored screen with a message box that
looks something like this:
Followed by a screen with a message box that looks something like this:
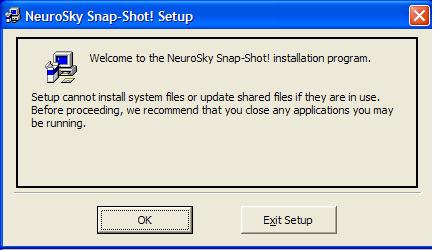
Clicking OK will present you with the next screen
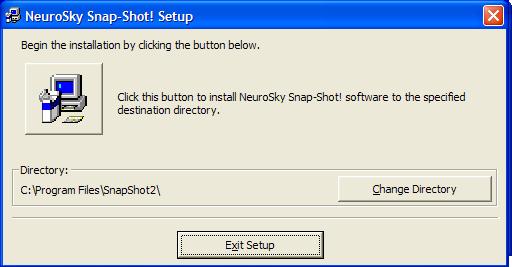
You can install the software to a folder different from the above by clicking the Change Directory button and selecting a new location. However, unless you have a good reason to do so, it is better allow the software to install in the default folder (as shown above). Clicking the icon button will then present you with a screen like the following:
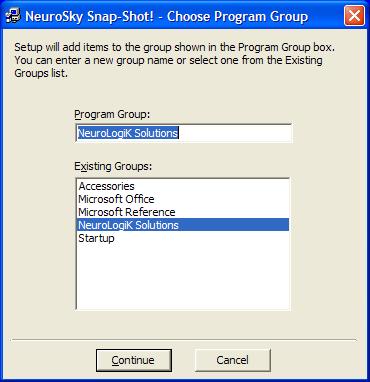
The above screen allows you to install the software icon(s) in any program group of your chosing, although for installation simplicity and ease of use later, it is recommeded that you use the group name of NeuroLogiK Solutions.
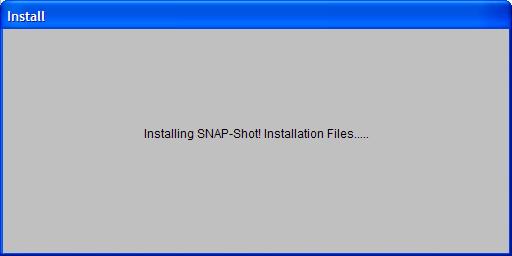
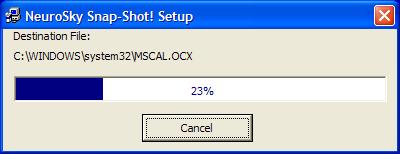
As the software is installed onto your computer system you will see a progress window like this one:
During software installation you may receive an error message box like the following:
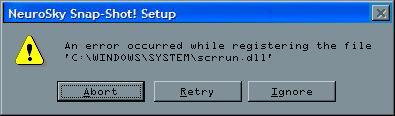
Simply click on Ignore and the installation will continue to completion.
Eventually the software installation will be completed, with a message like the following:
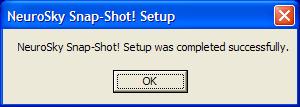
Clicking on OK will end operation of the Setup.Exe program.
Clicking on the Windows Start Button will show the software to have been installed.
