(Click here for details)
SNAP-Shot!Tm 3
Software Screens
The SNAP-Shot!Tm Software consists mainly of two screens:
1.
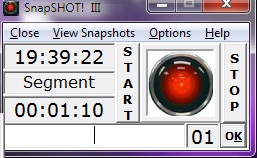
The Snapshot Screen itself
(Click
here for details)
2.
The Snapshot Viewer Screen
(Click
here for details)
On the snapshot screen, clicking on "Options" allows you to specify which form of screen snapshot(s) you will be making. You can change this at any time, allowing you to switch between Entire Screen mode (the default) or snapshotting just one of the Neurosky screens.
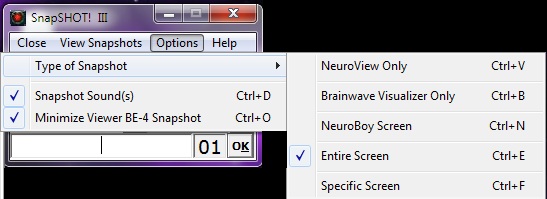
Also
notice that Ctrl-D allows you to toggle the sound feature of the software.
With
sound enabled, each picture taken will make a camera-click sound
offering confirmation of the actual snapshot process.
Clicking on Help will present you with the software Help Menu as follows:
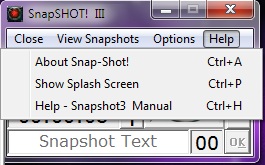
Pressing Ctrl-A will pop up an "About Box" giving you release information about the SNAP-Shot! II software. Pressing Ctrl-H brings up this Help Facility.
When you are finished using the SNAP-Shot software, pressing Ctrl-Q (Quit) or clicking on Close allows you to bring the software down. You are presented with a Yes/No box in case you have unsaved pictures on the viewer screen.
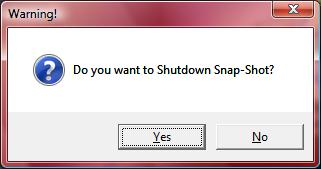
Clicking on yes, will close ALL screens opened by SNAP-Shot!. Any unsaved data will be lost.
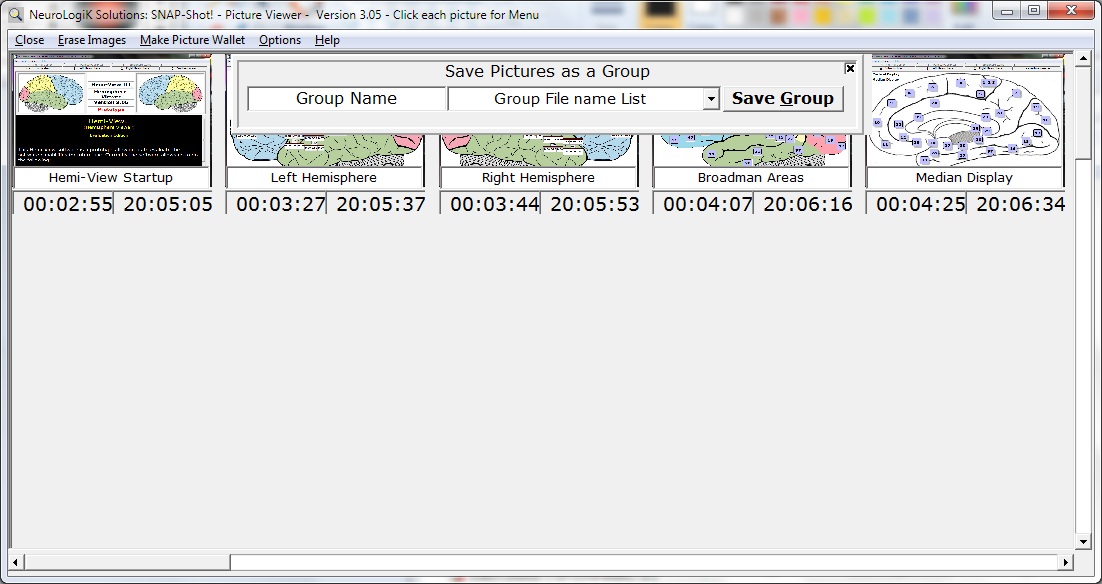
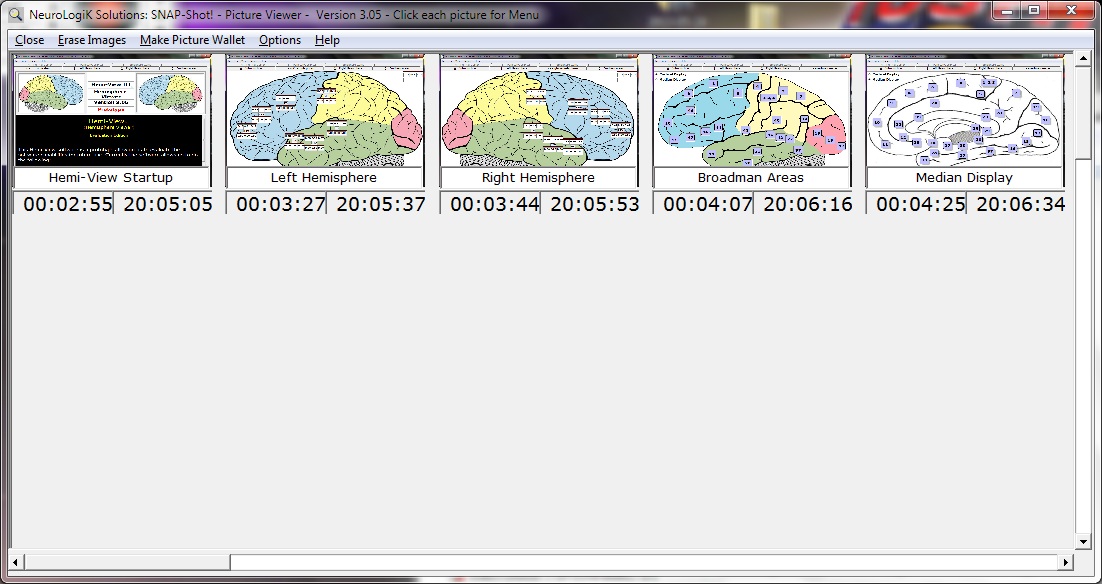
The Viewer screen allows us to manipulate images directly. The images on this screen are simply thumbnail images. You can type/change the annotation text for each individual picture, you can save each picture individually (or all pictures as agroup), Zoom-In on each picture or remove unwanted pictures from the group.
Notice that each picture contains the time-stamp information from the Snapshot screen at the time the image was captured. Unlike the annotation data, the time-stamp data cannot be changed, insuring the integral-accuracy of this data.
As you can see, clicking on an individual thumbnail image pops up a menu box allowing many options.
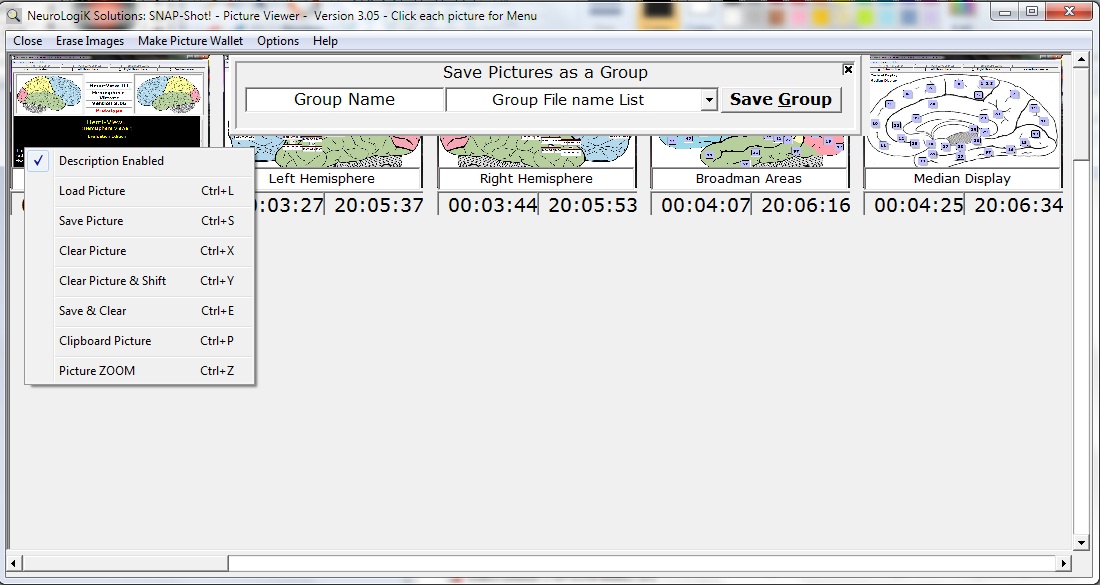
Clicking on Make Picture Wallet pops up a Save-Group Box allowing you to save each of the files with a common group file name suffixed by a #. You can also save each file individually. Saving files is described in the section of this manual detailing file saving. (Click Here)